Milling a LEGO

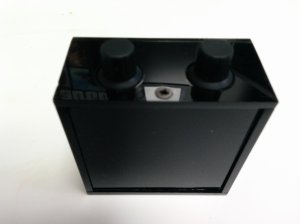
Having a few hours to myself to fool around on the CNC, I found a decent parametric model of a LEGO brick and set about machining one in acetal.  The surface finish is horrible, the height is off by a good millimeter and the bottom is a bit mangled by a missed tool change, but it’s fairly dimensionally accurate and mates with a real brick (the nice looking green one in the photos).

Lessons learned:

  1. Double check stock thickness and placement.  For two-sided machining, this determines the overall height of the finished part.  In this case, it was off by enough that the bottom pass poked holes in the top surface!
  2. Better alignment when flipping to machine the bottom.  I currently drill holes and pin the stock to my spoil board.  It doesn’t look like this is accurate enough.
  3. Double check what tool each path is expecting.  I left a 3mm endmill in the collet for a finish pass computed for a 2mm bit and messed up the bottom of the part pretty badly.
  4. Lie to the XY finish pass.  Set the endmill diameter larger than it really is.  This should take care of the gouging on the sides of the part.

More CNC Moldmaking

This time for chocolate!

Project for a friend whose son is really into Charlie and the Chocolate Factory.  Mold design in OpenSCAD from logo pulled off the web.  Toolpaths using MeshCAM.  Bathtub mold master cut from RenShape on a modified 3040.  Final mold made of food grade silicone.

CNC Christmas

Some Christmas presents made on the CNC.

CNC Moldmaking

The square baffles that separate the individual pixels for the large fireplace display are currently made of 30 interlocking pieces of laser cut cardboard.  This assembly is expensive to have cut, fiddly to assemble and not particularly strong.

This is first attempt at producing this part in cast resin.  This guide has been indispensable in getting started.

Cutting Oddity Case Parts

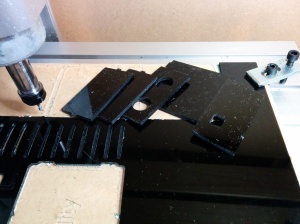
First attempt to cut Oddity cases from acrylic sheet using my new CNC router. Parts are exported directly from the Sketchup model as .stl and fed to MeshCam to generate the toolpaths. I was using Makercam for a bit, but had issues with saving and loading files as well as tab placement. For simple 2d routing, however, it’s free and really easy to use.

Set of Oddity case parts.  Just missing the face plate, which needs to be cut from different stock.

Set of Oddity case parts. Just missing the face plate, which needs to be cut from different stock.

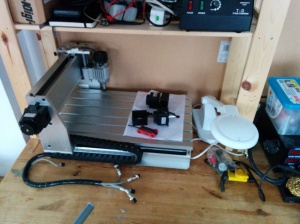
Half-assembled CNC router table.

Half-assembled CNC router table.

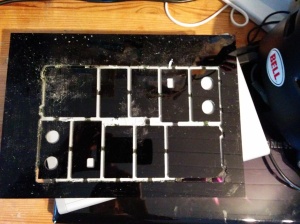
Sheet of parts for two Oddity cases, unfortunately unuseable.

Sheet of parts for two Oddity cases, unfortunately unusable.

[EDIT] It turns out that my machine is missing steps on its X-axis.  The problem is not noticeable to the eye on short runs, but became apparent when trying to cut a whole sheet.  It looks like the stepper driver is registering changes in the direction pin after the step has been made, resulting in lost steps when changing directions.

A few photos from Sunday’s build day

Harry and I assembled cases, completing four pieces as a test to see how well our process scales.  Unfortunately, the answer is “not well” – each unit still takes a few hours from start to finish.

That belongs in a museum!

A couple of photos of Hearth and Oddity installed in the MAD Museum in Stratford.